
If you spend time copying data between apps, sending the same follow-up emails, or updating spreadsheets by hand, you already have a list of tasks begging to be automated. Workflow automation replaces those manual steps with a system that runs on its own, triggered by events you define. The result is fewer errors, faster execution, and hours of reclaimed time every week.
Two platforms dominate the no-code automation space in 2026: Make (formerly Integromat) and n8n. Both let you connect applications, move data, and orchestrate multi-step processes without writing code. This guide walks you through building your first workflow on either platform, from account setup to a live, running automation.
Make vs n8n: Which One Should You Pick?
Make offers a visual, drag-and-drop builder with over 2,000 pre-built integrations. It is cloud-hosted, so there is nothing to install. Pricing starts at $9/month for 10,000 operations. This makes Make a strong choice for non-technical users who want results fast.
n8n is open-source and developer-friendly. You can self-host it for free on your own server or use their cloud plan starting at $24/month. n8n excels when you need custom code, advanced AI agent workflows, or full control over your data. If your team includes someone comfortable with APIs, n8n workflow tutorial resources online will feel intuitive.
For most small businesses starting out, Make offers the shortest path to a working automation. For teams planning complex integrations or AI-powered workflows, n8n is the better long-term investment.
Step 1: Define What You Want to Automate
Before you open any platform, write down the exact process you want to automate. A good candidate is any task that follows the same steps every time. Common workflow automation examples include: sending a Slack notification when a new lead enters your CRM, creating a Notion task when a form is submitted, or emailing a welcome sequence when someone books a meeting.
Be specific. Instead of “automate my sales process,” aim for “when a new contact is added to HubSpot, send their details to a Slack channel and create a follow-up task in Notion.” Specificity makes the build straightforward.
Step 2: Create Your Account and Explore the Interface
On Make
Sign up at make.com and open a new Scenario. You will see a blank canvas. Click the “+” button to add your first module. Modules are the building blocks of Make workflows. Each module represents one action in one app, such as “Watch new rows in Google Sheets” or “Send a message in Slack.”
On n8n
If you want the quickest start, sign up at n8n.cloud. If you prefer self-hosting, install n8n on a $6/month VPS. Either way, create a new workflow. The n8n tutorial for beginners starts here: you will see a canvas with a trigger node already placed. Click it to choose your starting event.
Step 3: Build a Simple Three-Step Workflow
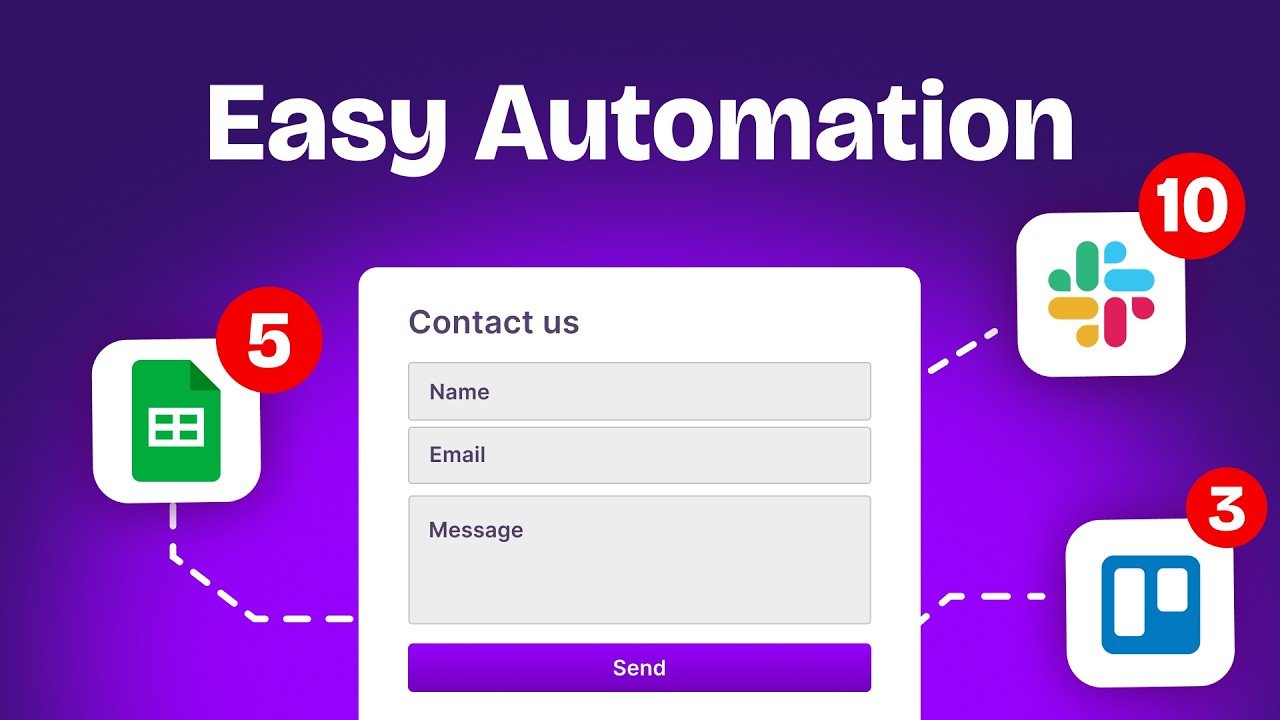
Let us build a practical example. The goal: when a new lead submits a form, add them to your CRM and notify your team on Slack.
Trigger: New Form Submission
In Make, add a Typeform or Google Forms module and set it to “Watch new responses.” In n8n, add a Webhook node or use the Google Forms trigger. This is the event that starts your workflow.
Action 1: Create a CRM Record
Connect a HubSpot, Pipedrive, or Notion module after the trigger. Map the form fields (name, email, company) to the corresponding CRM fields. Both platforms show you the available data from the previous step, so mapping is point-and-click.
Action 2: Send a Slack Notification
Add a Slack module at the end. Choose your team channel and compose a message template like: “New lead: {{Name}} from {{Company}}. Email: {{Email}}.” The double-brace syntax pulls data from earlier steps.
This three-step pattern, trigger plus two actions, is the foundation of most marketing automation workflow examples. Once you understand it, you can extend it to five, ten, or twenty steps.
Step 4: Test and Activate
Both platforms offer a test mode. In Make, click “Run once” to process a sample entry. In n8n, click “Test workflow.” Review the output at each step. If the CRM record looks correct and the Slack message arrives, your workflow is ready.
Activate it by toggling the workflow to “Active” (n8n) or turning on the Scenario scheduling (Make). Your automation now runs every time a form is submitted, with zero manual effort.
Step 5: Iterate and Expand
Once your first workflow runs smoothly, think about what else you can automate. Add a delay module and an automated follow-up email. Branch the workflow based on lead source. Connect your calendar to auto-schedule meetings. Learning how to create an automated workflow is iterative: start small, validate, and layer on complexity.
You can also explore AI-powered steps. n8n supports native integration with large language models like ChatGPT and Claude, enabling workflows that summarize emails, score leads, or generate personalized outreach. Make supports AI through API modules and built-in AI connectors.
Common Mistakes to Avoid
First, do not try to automate everything at once. Pick one process, get it working, and move on. Second, always test with real data before going live. A workflow that works with a sample but breaks on actual entries will cost you leads. Third, name your modules clearly. “Slack: notify sales channel” is infinitely more useful than “Module 4” when you revisit the workflow three months later.
When to Call In the Experts
Simple workflows are well within reach for any business owner. But when you need to connect five or more tools, handle complex conditional logic, or integrate AI into your pipeline, the build time adds up fast. That is where an automation agency like LeSage Digital comes in. We design and build workflow automation systems that connect your CRM, Notion, Slack, and AI tools into a single machine that runs without you. The difference between a DIY automation and a production-grade system is reliability, error handling, and scale. We build for all three.
If you want to see how a well-architected automation pipeline works end to end, explore our step-by-step process for building custom workflows.
Key Takeaways
Building your first automated workflow does not require coding skills or a large budget. Pick a platform (Make for simplicity, n8n for flexibility), define a clear process, and start with a three-step workflow. Test it, activate it, and iterate. If you need enterprise-grade reliability or AI-powered automation, consider working with specialists who build these systems every day.